About Me

My photo
Sewing and cooking are two of my favorite things. In the past, I often found myself searching for pictures and details of projects I have done, without success. So I decided to start documenting my creations. Then my son suggested I add my recipes to the blog so that they are documented also.

Thursday, November 27, 2014

Turkey - It takes a Village

HAPPY THANKSGIVING!!!!


So for the last few weeks every newspaper, magazine, and blog that I have read and every TV show I watched has featured the best way to roast a turkey. So at 7AM this morning I decided to incorporate 4 of the methods into my way of roasting a turkey. If one way is supposed to be good why not incorporate many of the techniques to get the best turkey onto my table.

Roasting the turkey upside down was a big item this year. One show said to turn upside down for the first hour and another for the last hour. Butterball said no way because it is too wobbly to turn around.

Stuffing the bird with citrus fruit was another popular twist as was coating the bird with olive oil and paprika. Another old standby that I have not done was using a Reynolds roasting bag.

I decided to use a turkey bag because I figured it would be easier to flip a 22 pound turkey if it was contained.  I stuffed my turkey with clementine oranges and apples - mostly because that was the fruit I had in my fridge. I oiled it up and sprinkled salt and paprika all over its skin. Then I placed it in the roasting bag, which was already sitting in a foil roasting pan set on a cookie sheet, and put the tie on the end to keep the contents in the bag.

Since I was going to church after I placed it in the oven, I opted to roast it breast side down for the first two hours. A purely subjective amount of time because that was how long it was cooking by the time I got home from Mass. It was actually pretty easy to flip it breast side up since it was in a bag. I just had to use 2 potholders and rolled the bag right over in the foil pan. After the pop up timer indicated it was done I turned the oven off and let it rest in the bag for about 1/2 hour while I finished the mashed potatoes and other sides. That turkey stays really hot inside the bag!

Well I am not sure which technique made the turkey the most flavorful and moist that I have ever made but next year I am following the same routine!


Sunday, November 9, 2014

Two More Baby Quilts

So I have been busy traveling the last month but before I left on my trip I had 2 baby showers to attend.  I like making quilts for these events because the quilts usually are a very manageable size and I can be somewhat creative.

The first quilt is a sailboat for my expected grand nephew.  This was actually made with the rail fence pattern as depicted in the book Picture This by Billie Lauder.I have been wanting to try out the technique and since this baby will live in New England I thought the sail boat was perfect.


The theme of the nursery for the next expected baby is World Travel so what better quilt than one of the world.  The hardest part of this one was scaling an outline of the world so that it would fit the expected quilt size.  I wasn't sure how this would work out but I was thrilled with the outcome.  I appliqued the continents onto the pale blue ocean and then did some basic straight and wavy line quilting.


Now I can't wait till the new babies arrive!

Thursday, October 2, 2014

Another Potholder Class


So Tuesday evening was the second class for the potholder/towel class.  I must say we had such a fun time sewing together.  It never ceases to amaze me how much we all learn from one another - and not just about the subject at hand! 

All the items turned out so very nice.  If you scroll down you can see those from the first class in the previous post.

Monday, September 29, 2014

One of My Favorites


I love Fall!  I love the weather, the mild temperatures and all the decorations with leaves and pumpkins. And yes I also rank the Pumpkin Spice Latte up there at the top. So today I am pulling out my autumn home decor and one of my favs is this Pumpkin Runner.  You can go back to my previous posts to get the pattern. Pumpkin Runner


Friday, September 26, 2014

Class Potholders and Towels


Yesterday was my first class for the potholder/towel class.  We had a great time sewing together and the attendees were happy to complete their sets.  Don't they look great! The next class is on Tuesday evening so we will be at it again.

Monday, September 22, 2014

The Latest Endeavor


I decided that I needed a cute gift idea to use as a class.  I came up with a pot holder/ tea towel ensemble. The uniqueness of it is that both items are done on the embroidery machine.  To be able to teach a class on it, I needed to actually digitize the designs myself.  So I set about it and actually it did not take me as long as I had thought it would.  I have already used the idea for an engagement party gift where I added the couple's names to the potholders. It made a cute set.


So for my class, I decided to present the theme of holiday hostess gifts.  Since it is early fall, I made appliques of leaves and a christmas tree. So here is what the class attendees will learn - how to make a potholder in-the-hoop and how to do embroidery machine applique. I think it will be a hit!


Thursday, July 31, 2014

The Crab Dip Placemat


Earlier this summer I attended the Three Rivers Art Festival and just had to buy this adorable crab dip dish and cracker plate. I had a bridal shower coming up and knew this would be a great gift. The pottery was made by Francine Zajac from Washington, PA. Francine's web site  shows many of her functional items including brie bakers and chip and dip plates.  I was quite taken with her pieces so my daughter-in-law and I couldn't leave without purchasing a few.

I always like to make a handmade item to go with my gifts so I found quilting fabric that went so well with these pieces.  I decided to do an applique of a crab in the center and quite luckily found this free crab applique on Designs by JuJu  http://www.designsbyjuju.com/free-applique-crab?___SID=U.

I absolutely love this set of pottery with the placemat and had a hard time giving it as a gift!

Here is the crab dip recipe that came with the pottery:

Hot Crab Dip

1 can crab meat                      1 tsp. Worcestershire sauce
8 oz. cream cheese                 1 tsp. onion powder
2 Tblsp. mayonnaise                Parmesan Cheese
1 Tblsp. lemon juice

Combine crab, cream cheese and mayonnaise.  Add lemon juice, Worcestershire sauce and onion. Put in crab dish and top with Parmesan cheese.  Bake at 400 degrees for 30 minutes.


Thursday, July 17, 2014

My Singer 99 - What a Beauty!!


I didn't feel like sewing tonight but was bored so I decided to get one of my vintage Singers working.  I have this little 3/4 Singer 99 that was given to me by a former co-worker.  He had found it in his aunt's house and no one really wanted it so he gave it to me a few years ago.  I looked it up online and it was born in October 1955.  I really do not think it was used hardly at all.  I did not get a manual with it but I was able to find the manual online free so I proceeded to oil the many places indicated.  The manual says to oil every 8 hours of sewing - I find that amazing because I also have a vintage Singer 66 that my mom and I sewed furiously on  for decades and probably oiled once a year.  My 66 was well used and looks way worse for the wear than this beauty.


So after a really good oiling - I figure it hadn't been run since the 50's - I just ran her for a few minutes with no thread to get the oil all through her.  Then I was able to wind a bobbin (one I had from my 66) and threaded her.  Here are my first rows of stitching.  I didn't even have to mess with the tension.  This machine has a great rhythmic clickety clack of a mechanical sewing machine.


I didn't get any extra attachments other than the seam guide with this machine but I do think my ruffler, hemmer foot, gathering foot and 15/16 binder from the 66 will fit her.  I don't have a zipper foot but I doubt that I will be inserting any zippers with her anyways.  I really like the skinny feed dogs and may actually do some piecing with this machine.


I guess next I will clean up the 66 and see if I can get her running.  The 66 was born in 1948 and my Singer Treadle, according to it's serial number, was born in 1910.  Both of these will take alot more work than the 99.  Jobs for the cold snowy days of winter!

Saturday, July 12, 2014

Zipper Bag Made in the Hoop


So I had bookmarked a design for a zippered bag made in the hoop. It has a lining and all seams are concealed. I finally bit the bullet and bought the design. Actually not a bad deal since it has the design for six sizes of hoops - from 4x4 through 8x14.  It is from Digistitches http://www.digistitches.com/easy-zipper-bags-2-in-the-hoop.html


I want to make a few items for door prizes for my golf league and thought a small golf bag with our league name on it would be useful. So I added our name to the front and used golf fabric. Usually my first try at a pattern has issues but this bag came out perfect. The zipper is added in the hoop so no other sewing is needed. I made the 5x7 and it is a perfect size for some tees and a few ball markers plus a phone. Next I will try the 4x4 size for a change purse.  I can see that this design will get a lot of use!

Thursday, July 10, 2014

Whipped Up This Purse


A few weeks ago my hubby and I decided at the last minute to go to a Pro golf tournament taking place locally.  As I was looking online for tickets I noted that no purses or bags larger than 6"x6" were allowed.  Wow that is really small! I had a few that would fit into that size but they were clutches and I wasn't going to spend a whole day carrying it around. I needed something that would hang over my shoulder.  I knew I had no purse that small but figured I could whip up something with a shoulder strap for the next morning.  I have a slew of 7 inch square blocks made up that will one day become a quilt but no time soon. These blocks already have a backing on so I figured I could pick two, put them together with a zipper and seam it up.  I really had no cord for the strap that matched it so I used uncovered ecru cording and my little shoulder bag was born.  My only supplies needed were 2 quilt blocks, a zipper that I cut to size and cording - all found in my sewing room and a 1/2 hour of my time.


It held my iPhone, change purse and a comb.   It is almost like a little disposable bag but will come in handy another day I am sure. Actually it may be great to use when I go to the occasional casino since I like to carry little with me when I go to one.

Wednesday, July 9, 2014

Crayon Holders Made In The Hoop


Last weekend I went to my son's for a cookout and knew some young children would be there.  I had gotten an embroidery design for a crayon holder from Cassandra's Embroidery Designs http://www.cassandrasembroidery.com/CrayonChalkRollupWithBonus.htm quite some time ago but had never used it.  It is intended to hold the crayons and roll up but the pocket on the back was perfect for a small coloring book so I put one in for each holder. The only thing I changed in the pattern was that it called for water soluble stabilizer and I found that tear-away actually worked better.  This is a perfect small gift for young children and can be made in less than 1/2 hour.


Thursday, June 19, 2014

McCall's Quilt Along Top Pieced Together

Well I finally got the McCall's Quilt Along quilt top pieced together.  I have made this quilt with scraps and learned many new blocks. I really am not a fan of sampler quilts as they are just too busy for me. However here it is!  Now I still have to quilt it but that probably won't get done until the fall after golf season.


How about this border with all those half triangles - really time consuming and well worth the trouble.  Stay tuned for my free motion quilting on these blocks as I am planning on trying out new techniques and designs.


Simple Applique Class

I haven't posted in weeks because Internet Explorer 11 automatically  installed itself on my PC and blogspot was not functioning correctly; apparently it works well with IE 10 but not fully supported on 11.  So I finally installed Firefox as my browser and voila! I can now update my blog!


Earlier I posted about my simple applique pattern that I had made.
 http://juliannasjourney.blogspot.com/2014/03/simple-applique.html
 I taught a class on it and here are the attendees' wallhangings.  I am actually having another class on this project starting next week so there will be more.


Monday, April 28, 2014

Alphabet Jungle Quilt


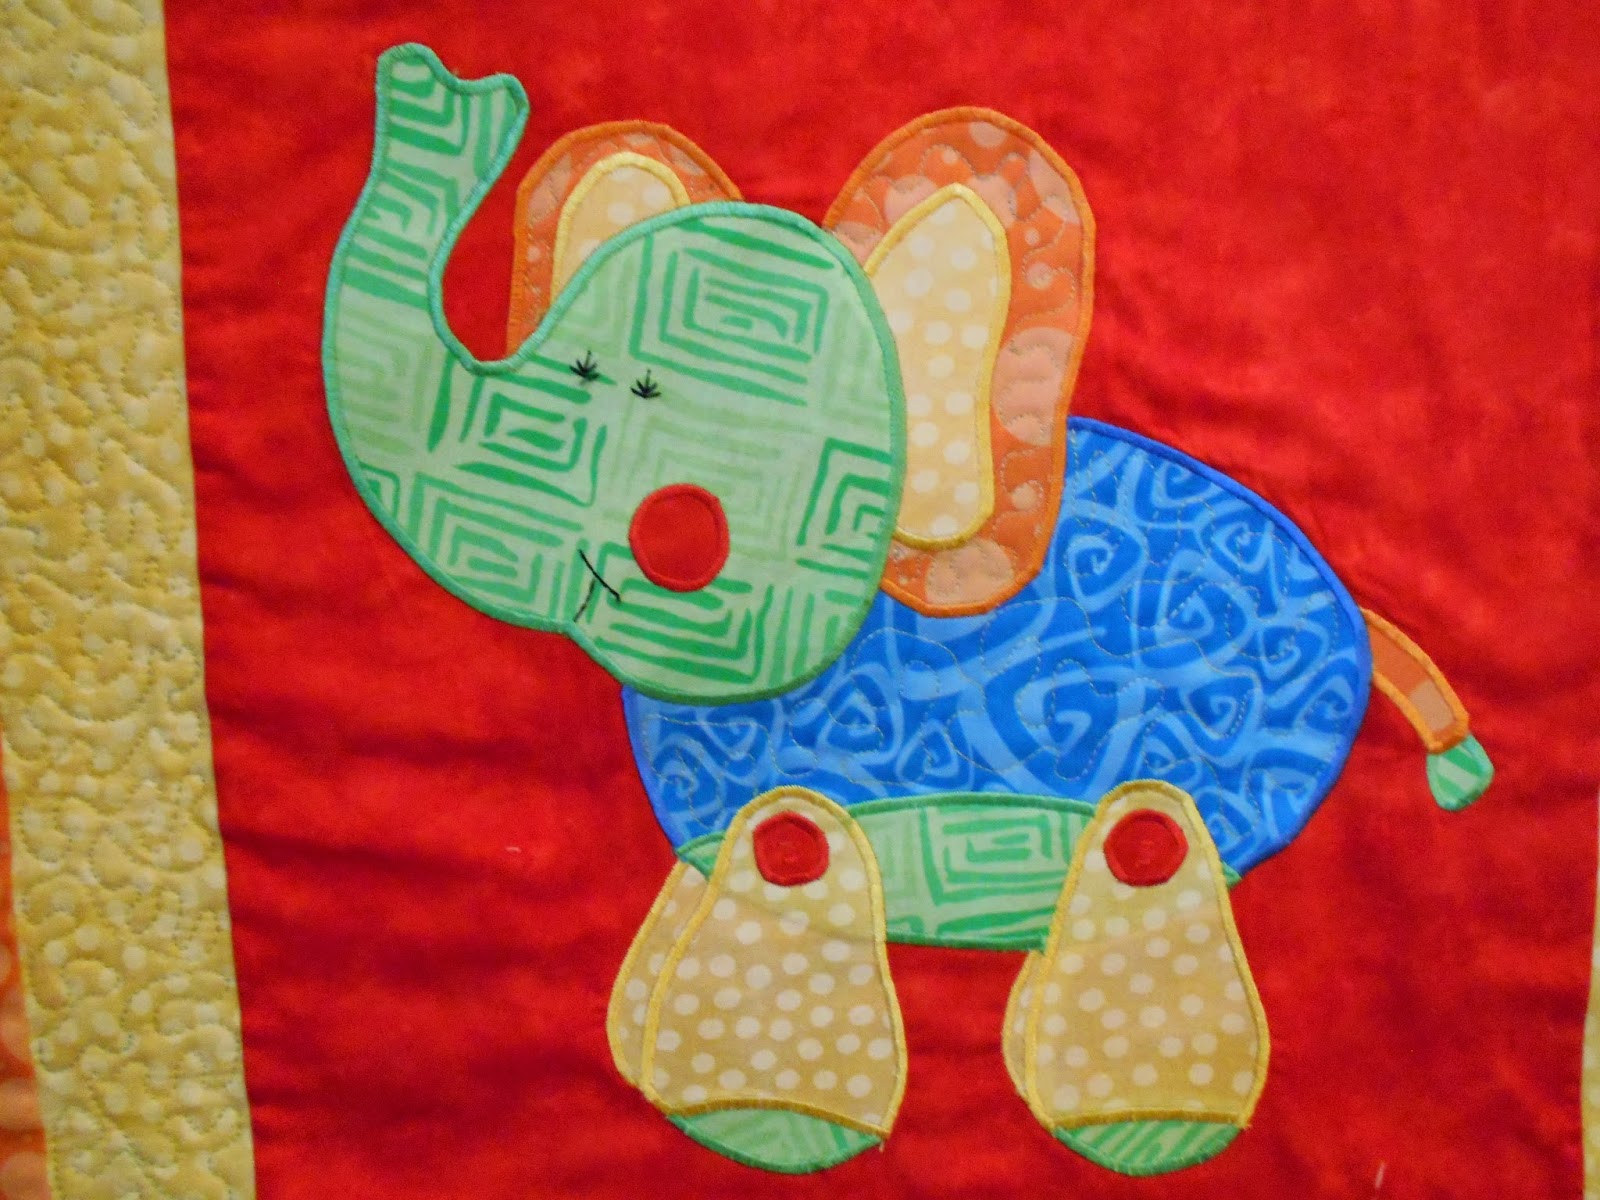
I made this 44" X 52" quilt for a baby shower this week.  It is made from the pattern Alphabet Jungle by Kids Quilts Ltd.  The animals were appliqued using my Pfaff Quilt Expression 4.0.  However the ABC block and the 123 block were done on the embroidery machine.  I did have to applique my pieces with a tight satin stitch so that it matched that of the embroidery machine but it turned out well.
 
Previously I have always used Wonder Under to fuse my applique pieces but for this project I used Pellon EZ Steam II.  The advantage of it is that you don't need to iron until the pieces are arranged onto the final fabric. There is a tacky finish which allows you to place, remove and replace as needed until you get it where you want it.  I have been told that Steam A Seam by the Warm Company is a better such product but it is not being produced as a new factory is being set up for it.


The Lion is my favorite but the Elephant and Rhino was very cute also.


I did not want to do an overall quilt design so I stippled in between the animals and on a few animal parts just for texture. Then I quilted the borders with hearts at the corners and just a loopy line around the border.


The Eggs Wars of 2014

Well just a week late but I needed to post about this year's egg wars. If you would like to read the history of the wars just go back to this earlier post http://juliannasjourney.blogspot.com/2012/04/egg-wars-2012.html


As usual, Hubby colored the eggs.  There were no fancy swirls or dyes this year.  Since no children were available to help him he went with the 'classic' dyed eggs but we did have this lovely centerpiece to showcase them.
 
There were 9 contenders this year and the winner was Jimmy.  We all think he holds his egg in some funky way so that his doesn't crack. Well we will all try again next year!


Friday, April 4, 2014

The McCalls's Quilt Along Continues

I haven't posted about the Quilt Along since March 2nd but I have kept up. Weeks 6 and 7 were spent making the Star in Star blocks. By far I have enjoyed these blocks the least. I needed to make 16 corners for the blocks that consisted of 1 inch strips set on the diagonal. Although they look cute the next time I see this block I will just cut a solid block. It has been suggested that they would benefit from paper piecing but I will probably never find out.


Week 8 was 12 pinwheel blocks and week 9, this week, was 12 nine patch blocks. I love the cute pinwheel blocks but the best part is that next week I will make 9 economy blocks and then the assembly of the quilt begins - thank goodness!


Tuesday, March 25, 2014

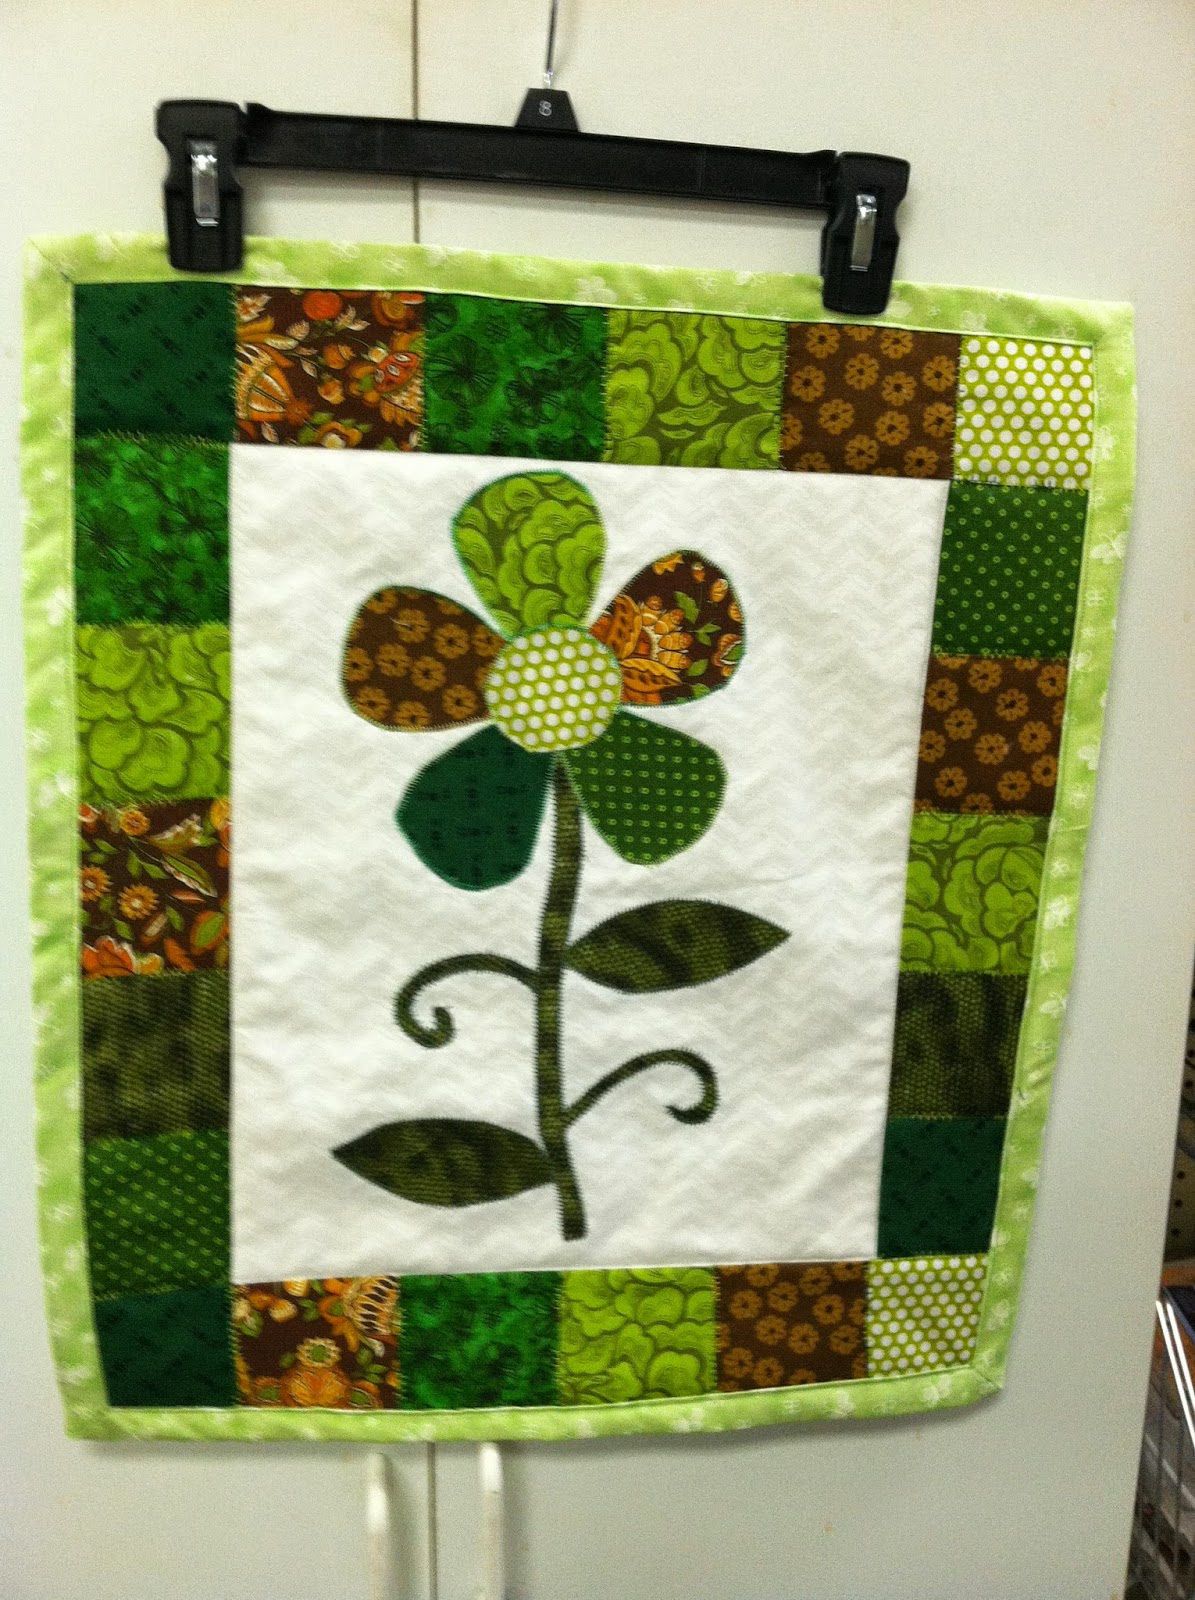
Simple Applique


Yesterday I made this simple appliqued wall hanging that will be used for a class.  I had batiks that were given to me from 2 dear friends and I used them all in this whimsical project.  I hung it in the dining  room and fell in love with it!

I usually use Wonder Under for my fusing material for the applique parts but I tried Pellon Steam a Seam II so that we could use it in class.  It offers more ease in placing the parts on the background but I did find it to be a little fiddly to work with. However you do not need to use a Teflon sheet for placement which is an advantage in class.


It is hard to tell from this pic but I used the blanket stitch for the leaves and stems and the satin stitch for the flower petals; this will allow students to practice both.  I honestly want to stipple quilt the background fabric but never got to it yet.

Monday, March 24, 2014

Hubby's Monopoly Quilt


Hubby's birthday was yesterday and I made him his own quilt. I wanted something masculine looking, or at least not floral, and I saw this monopoly fabric and just had to buy it. Since he loves our doxie I made the center block out of dachshund fabric I had picked up in Harrisburg a few years back. Since I did not want him to see it I actually quilted it at work on the Pfaff sit down quilter. It went pretty fast but I also decided to use a template ruler for the border and that did not turn out too well. Apparently one needs to practice with those rulers for awhile - anyhoo my hubby does not seem to notice my irregular quilting on the borders!


Tuesday, March 11, 2014

Visiting Darling Daughter

Hubby and I are visiting our daughter for a few days.  She is getting ready for her annual St. Patty's Day party so we are previewing some of her props. Apparently she and her cat will be wearing only the latest fashion in head coverings!